Effortless Dutch Oven Bread: Your Same-Day, 5-Ingredient Crusty Loaf
Imagine the aroma of freshly baked bread wafting through your kitchen, a golden-brown masterpiece with a crackling crust and a soft, airy interior. Now, imagine achieving this artisan-quality loaf with just five simple ingredients and minimal effort, all within the same day. Sounds like a dream? It's not! Welcome to the world of easy no knead dutch oven bread, a game-changer for home bakers everywhere.
For too long, the idea of homemade bread has been associated with lengthy processes, intricate kneading techniques, and overnight rests. But what if we told you there’s a secret recipe, a culinary shortcut, that delivers spectacular results without the fuss? This brilliant method, championed by home cooks and baking enthusiasts, allows you to enjoy a crusty, chewy loaf that rivals your favorite bakery's offering, all thanks to the magic of a Dutch oven and a surprisingly wet dough.
This article will guide you through crafting a perfect loaf of easy no knead dutch oven bread using just five essential ingredients. We'll demystify the science behind its incredible texture, provide step-by-step instructions, and share expert tips to ensure your same-day bread-making journey is a resounding success. Get ready to impress your family and friends with a loaf that's as simple to make as it is delicious to devour.
The Genius Behind No-Knead and the Dutch Oven Advantage
At the heart of this easy no knead dutch oven bread recipe lies a brilliant combination of simplicity and clever technique. The "no-knead" aspect isn't just about saving time; it's about harnessing the natural power of time and water to do the work for you. Traditional bread making relies on kneading to develop gluten, the protein network that gives bread its structure and chewiness. In a no-knead dough, a high hydration level (meaning a wet dough) combined with a sufficient resting period allows the gluten strands to relax and align themselves naturally, forming that desirable structure without any manual labor. This passive gluten development results in an incredibly tender crumb with beautiful, irregular air pockets, characteristic of artisan loaves.
But the true secret weapon in achieving bakery-quality results at home is the Dutch oven. This heavy, cast-iron pot acts like a mini-steaming oven, replicating the professional conditions of a baker's hearth. Here's why it works wonders:
- Steam Creation: When you preheat your Dutch oven to a scorching temperature and then drop in your wet dough, the intense heat immediately reacts with the moisture in the dough. This creates a burst of steam that gets trapped by the tight-fitting lid.
- Extended Rise (Oven Spring): This trapped steam keeps the crust soft and pliable for longer at the beginning of the bake. This allows the dough to expand significantly during the initial heat blast, known as "oven spring," resulting in a taller, airier loaf.
- Perfect Crust Development: As the steam circulates, it gelatinizes the starches on the surface of the dough. This process is crucial for creating that coveted golden, glossy, and beautifully blistered crust that crackles with every bite.
- Even Heat Distribution: Cast iron excels at retaining and distributing heat uniformly, ensuring your bread bakes evenly from all sides, preventing burnt bottoms or undercooked centers.
Together, the no-knead method and the Dutch oven create an environment that transforms humble ingredients into an extraordinary loaf, making easy no knead dutch oven bread an accessible luxury for any home baker.
Before You Begin: Key Considerations for Success
While the recipe for easy no knead dutch oven bread is straightforward, paying attention to a few crucial details can elevate your results from good to truly exceptional. These insights will help you avoid common pitfalls and ensure your same-day loaf turns out perfectly every time.
The Five Essential Ingredients
Our recipe uses just five ingredients, each playing a vital role:
- All-Purpose Flour: The foundation of our bread. While you can experiment with bread flour for a chewier texture or a small percentage of whole wheat for added flavor, standard all-purpose flour works wonderfully.
- Warm Water: Crucial for activating the yeast. Think of it as a comfortable bath temperature – around 105°F to 110°F (40°C to 43°C). Water that's too hot will kill the yeast, while water that's too cold won't activate it properly, slowing or even stalling your rise.
- Active Dry Yeast: The leavening agent that makes your bread light and airy. Ensure it's fresh and active for the best rise.
- Salt: More than just flavor, salt controls yeast activity, strengthens the gluten structure, and contributes to crust color. Don't skip it!
- Sugar: Just a touch of sugar acts as food for the yeast, helping it activate quickly and enhancing browning.
Understanding Your Dough and Tools
- Embrace the Wet Dough: This is perhaps the most important tip. No-knead bread dough is inherently wet and sticky. Resist the urge to add excessive flour beyond what the recipe calls for, as this will result in a dense, dry loaf. The high hydration is what allows the gluten to develop on its own and creates that characteristic open crumb.
- Choose the Right Dutch Oven: A 4 to 6-quart Dutch oven is ideal for this recipe. A 4-quart pot will yield a taller, more compact round loaf, while a 6-quart pot will produce a slightly wider, flatter loaf. Both will taste incredible, so choose based on your preferred aesthetic. Remember, the tight-fitting lid is non-negotiable for trapping steam. You can learn more about unlocking bakery-quality bread with a Dutch oven here.
- Parchment Paper is Your Friend: While not an ingredient, parchment paper makes transferring the sticky dough into a screaming hot Dutch oven safe and easy, preventing it from sticking to the bottom.
Your Same-Day Journey to a Crusty Loaf: Step-by-Step
Making easy no knead dutch oven bread is a surprisingly simple process that breaks down into a few key stages. Here’s how to achieve perfect results every time:
Step 1: Activate the Yeast and Mix the Dough
Begin by combining your warm water, yeast, and sugar in a large measuring cup or medium bowl. Let this mixture sit for 5-10 minutes. You'll know the yeast is alive and happy when the surface becomes foamy and smells distinctly yeasty. This is called "proofing" the yeast.
Meanwhile, in a very large bowl, whisk together your flour and salt. Create a small well in the center of the flour mixture. Pour in your activated yeast mixture. Using a sturdy wooden spoon or spatula, stir until the ingredients come together into a shaggy, rough dough. It will be sticky and messy – this is exactly what you want! The dough should pull away from the sides of the bowl, but it will still be very wet. If it's too dry with pockets of flour, add water one tablespoon at a time. If it feels excessively sticky and won't form a cohesive mass, add a tablespoon of flour.
Step 2: The First Rise (Bulk Fermentation)
Once mixed, transfer your dough to a lightly greased bowl (this prevents sticking and makes it easier to remove later). Cover the bowl tightly with plastic wrap or a clean kitchen towel. Place it in a warm spot in your kitchen – ideally around 70-75°F (21-24°C). Let it rise until it has visibly doubled in size, which typically takes about 1 ½ to 2 hours. If your kitchen is cooler, the rise might take a bit longer. Don't rush this stage; proper fermentation builds flavor and texture.
Step 3: Shape and the Final Proof
Generously dust a piece of parchment paper (large enough to line your Dutch oven) with flour. Gently nudge the risen dough from its bowl onto the floured parchment. With lightly floured hands, gently fold the edges of the dough towards the center a few times to create a round, taught ball. Avoid overworking the dough; the goal is to create surface tension without deflating it too much. This gentle shaping provides structure for the loaf. Cover the shaped dough loosely with the bowl you used for the first rise or a clean kitchen towel. Let it rest for another 20-30 minutes while your oven preheats.
Step 4: Preheat and Bake
Place your empty Dutch oven (with its lid) into your oven and preheat it to 450°F (232°C). Allow it to preheat for at least 30 minutes to an hour. A properly preheated Dutch oven is crucial for creating that initial burst of steam and achieving a truly crusty loaf. Once heated, carefully remove the searing hot Dutch oven from the oven. Using the parchment paper as a sling, gently lower your dough into the hot pot. Place the lid back on and return the Dutch oven to the oven.
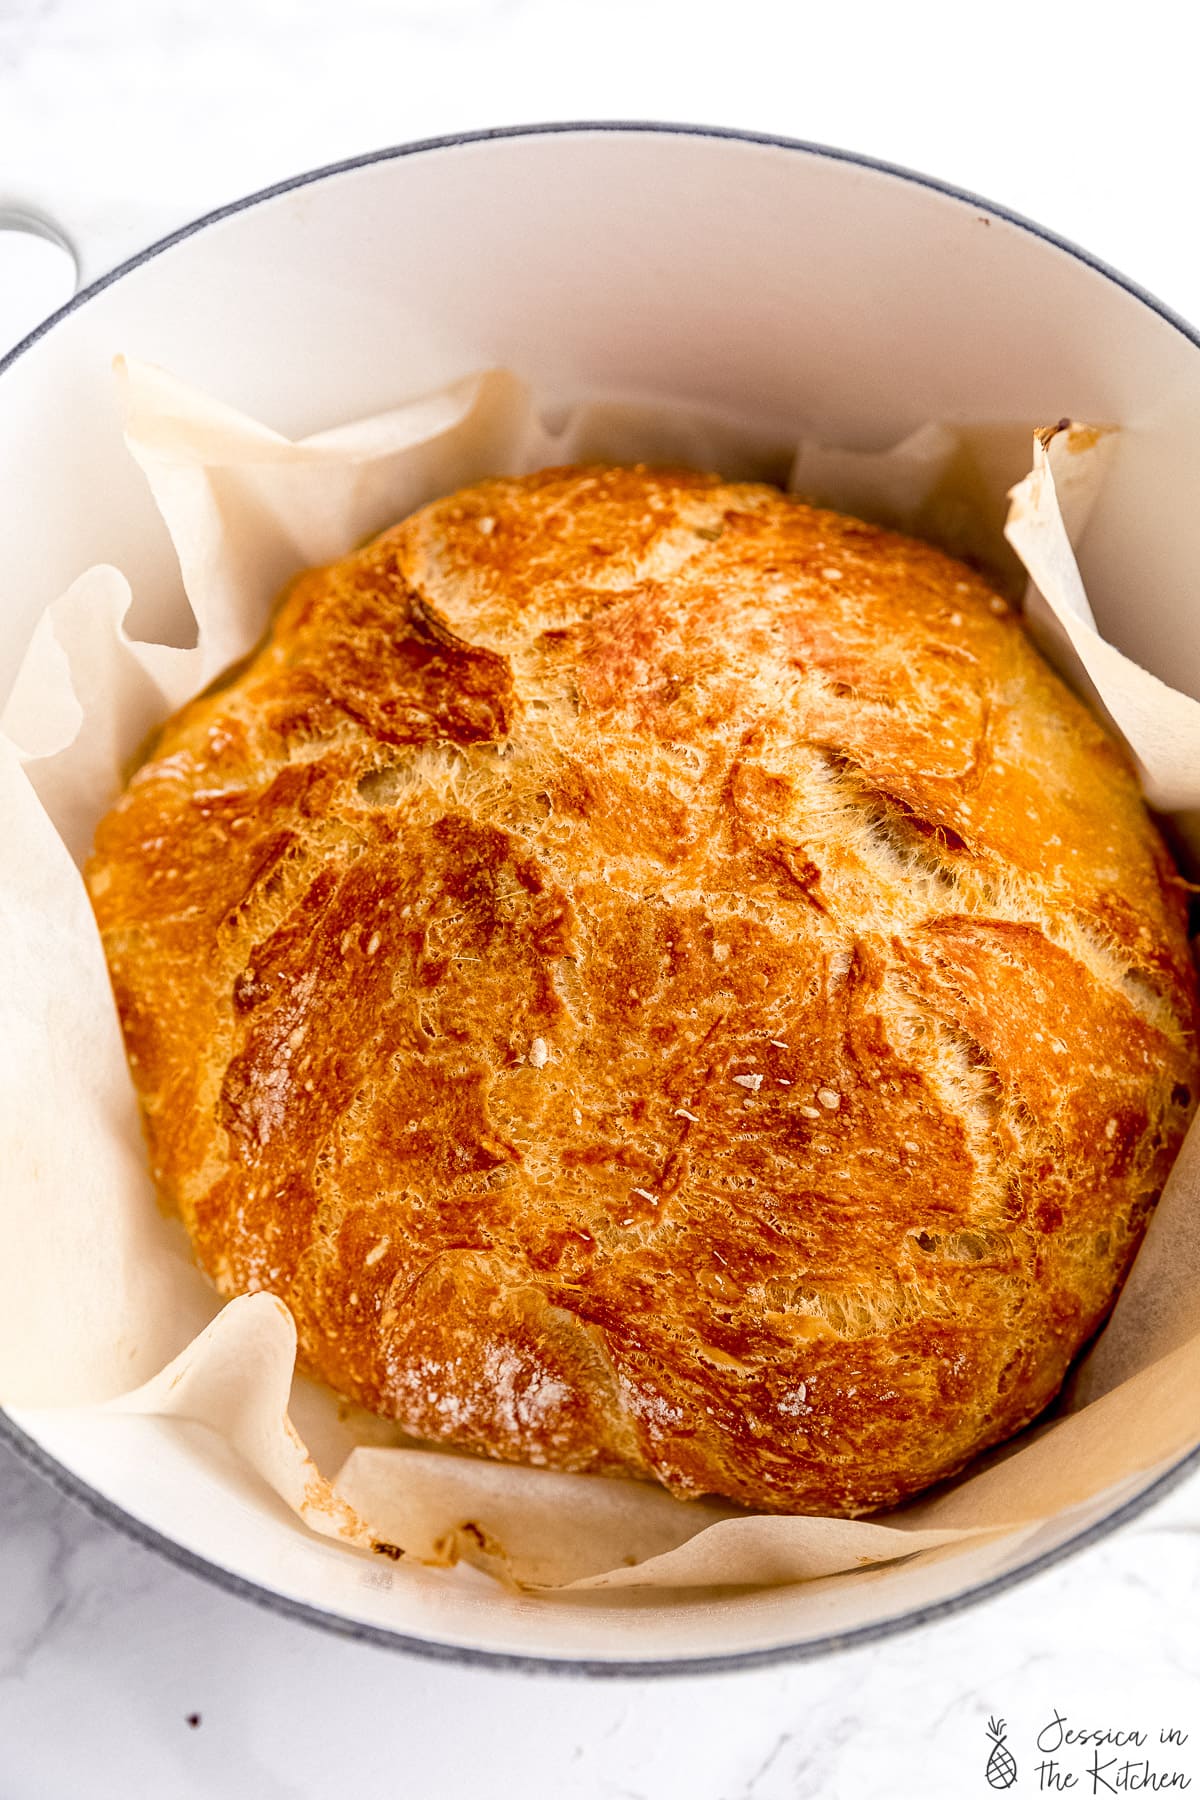
Bake for 30 minutes with the lid on. This phase traps the steam and allows for maximum oven spring. After 30 minutes, remove the lid and continue baking for another 15-20 minutes, or until the crust is deeply golden brown and sounds hollow when tapped. If you have a thermometer, the internal temperature should be around 200-210°F (93-99°C).
Step 5: Cool and Enjoy
Once baked, carefully lift the bread out of the Dutch oven using the parchment paper and transfer it to a wire rack to cool completely. Resist the urge to slice into it immediately! Cooling allows the internal structure to set and prevents a gummy texture. Plus, that crackling crust will continue to develop as it cools. After about an hour, slice your easy no knead dutch oven bread and enjoy with butter, olive oil, or alongside your favorite meal.
Conclusion: Your Artisan Loaf Awaits
There's an undeniable satisfaction that comes with baking your own bread, and with this easy no knead dutch oven bread recipe, that satisfaction is more accessible than ever. With just five ingredients, a little patience, and the incredible power of a Dutch oven, you can transform your kitchen into a personal bakery, producing a same-day crusty loaf that boasts a perfect chew and an irresistible aroma. This method simplifies the art of bread making without compromising on flavor or texture, proving that artisan-quality bread doesn't have to be intimidating or time-consuming. So, gather your simple ingredients, embrace the joy of hands-off baking, and get ready to experience the magic of homemade bread.
